When drywall encounters water, homeowners often raise the concern: Is replacement inevitable? It’s not a clear-cut answer as the need to replace wet drywall hinges on several factors. Assessing the extent of water damage quickly is crucial.
If the drywall has been exposed to water for a prolonged period or there are signs of mold growth and loss of structural integrity, replacement is typically the safest option. Early intervention can mean the difference between repair and replacement, as drywall can sometimes be saved if it hasn’t been compromised by water absorption.
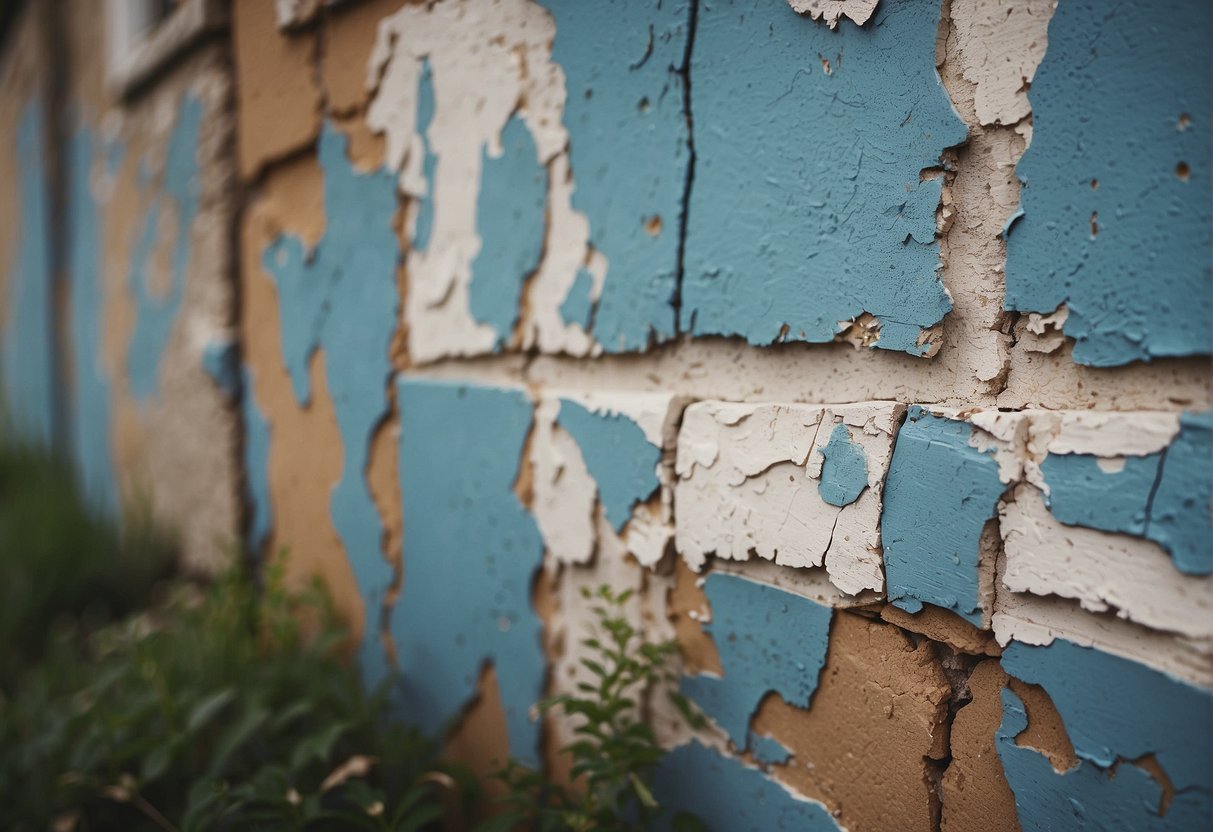
The type and severity of water damage play significant roles in determining the fate of wet drywall. Minor water damage, like small water spots, might be rectified if the drywall dries out properly and retains its rigidity. In instances where the drywall has remained wet, slight staining and bubbling might occur without immediately affecting the material’s stability.
However, if the drywall shows signs of swelling, mold growth, or warping, it is a sign of more serious damage, and replacement is often necessary to ensure the integrity of the structure and the health of the home’s inhabitants.
Professional assessment is paramount when dealing with water-damaged drywall. Experts can evaluate whether the material has retained its core strength and provide guidance on whether drying efforts would be sufficient or if the drywall should be replaced altogether.
Although wet drywall does not always need to be replaced, it is only when damage is minimal and swift action is taken that the likelihood of salvaging the material increases.
Understanding Wet Drywall
Wet drywall does not always necessitate replacement, but identifying moisture and understanding its effects are crucial for deciding the appropriate course of action.
Identifying Wet Drywall
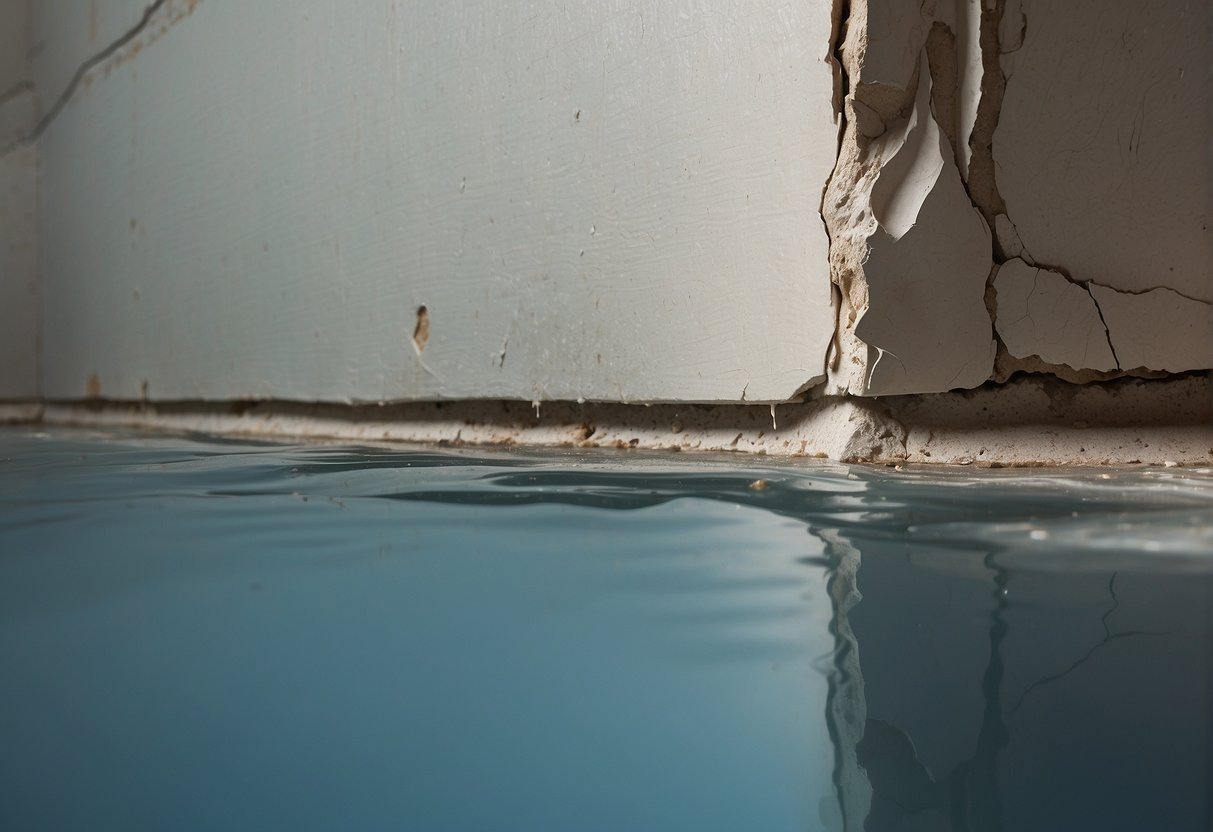
To determine if drywall is wet, one can visually inspect for stains, bubbling, or mold growth. These signs suggest that moisture has infiltrated the gypsum core and affected the paper facing. To confirm, a moisture meter can be used. There are two main types:
- Non-penetrating moisture meter: This type detects surface moisture through sensors without damaging the drywall.
- Penetrating moisture meter: It uses probes to assess the moisture content deeper within the drywall, offering a more comprehensive assessment.
Effects of Water on Drywall
The impact of water on drywall is significant. Gypsum, the core material of drywall, is porous and absorbs water easily, which can compromise the integrity of the wall. When water damage occurs, the paper facings can deteriorate, and the gypsum core can lose rigidity, making the drywall weak and potentially unsafe. Continuous exposure to water can lead to irreversible damage, requiring the water damaged drywall to be replaced.
Health and Safety Considerations
When dealing with wet drywall, health and safety are paramount. The presence of moisture can initiate mold growth and compromise the structural integrity of the material, posing risks to inhabitants and the building.
Mold and Mildew Risks
Wet drywall can become a breeding ground for mold and mildew, which thrive in damp conditions. Mold clusters can form within 24 to 48 hours of exposure to moisture. Exposure to mold spores can lead to health risks such as respiratory issues and allergic reactions. It’s critical to address any signs of mold damage promptly.
- Identify Mold and Mildew: Visually check for stains or discoloration and sniff for musty odors which are indicative of mold presence.
- Health Implications: Mold can cause symptoms ranging from sneezing and coughing to more severe reactions in individuals with heightened sensitivity.
Structural Integrity and Material Concerns
The integrity of drywall is compromised when exposed to water, as the porous material can become soft, weakened, and lose its structural soundness. Drywall typically contains either fiberglass or cellulose, both of which can absorb water and deteriorate. It’s imperative to evaluate the drywall to ensure it continues to meet safety standards.
- Assess Damage: Check for deformation such as warping or buckling, which indicates serious compromise.
- Materials Evaluation: Fiberglass or cellulose within the drywall may need assessment for water damage and potential replacement to prevent further deterioration.
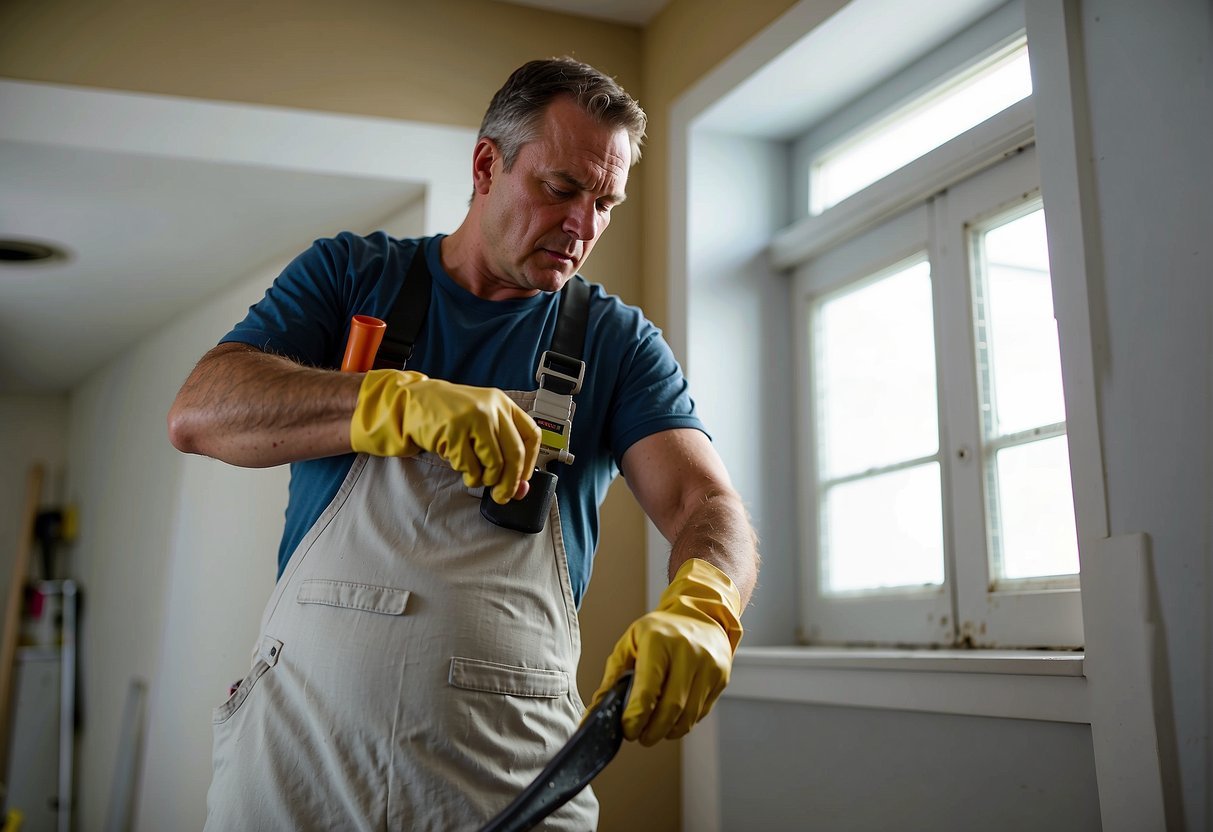
Mitigating Water Damage

Effective water damage mitigation is crucial to preventing long-term issues in structures affected by flooding or leaks. Implementing immediate measures and using the right tools can significantly minimize the impact of water damage, especially when dealing with drywall.
Immediate Actions to Reduce Damage
Upon detecting wet drywall, it is imperative to start the drying process as swiftly as possible to reduce moisture damage. The following steps can help:
- Remove excess water: Blot the wet areas with absorbent towels to remove as much water as you can from the surface.
- Increase air circulation: Setting up fans around the affected area encourages airflow, which aids in the drying process.
- Maintain low humidity: Use a dehumidifier to extract moisture from the air, creating a dryer environment that helps dry out the drywall.
- Isolate the area: If possible, section off the affected area to focus drying efforts and prevent moisture from spreading.
Responding quickly can prevent mold development, which can start to occur within 48 hours in the presence of moisture.
Tools and Equipment for Drying
After taking immediate actions to control the wet environment, the use of specialized tools and equipment can expedite the drying of wet drywall:
- High-Volume Fans: Industrial fans or high-volume fans offer greater airflow compared to standard household fans, effectively speeding up the drying time.
- Dehumidifiers: A professional-grade dehumidifier can remove a significant amount of moisture from the air and surrounding materials, which is crucial in drying out wet drywall thoroughly.
- Moisture Meters: This equipment helps to monitor the levels of moisture in the drywall, ensuring the drying process continues until the material is adequately dry.
Employing these tools can increase the chances of salvaging water-damaged drywall, thereby preventing the need for replacement and potential additional costs.
Drywall Repair vs. Replacement
Evaluating wet drywall requires a clear understanding of the damage’s severity to determine whether repair or replacement is the appropriate course of action.
Assessing the Extent of Damage
One must inspect the drywall for tell-tale signs of uncompromised structural integrity, such as bubbling, staining, mold growth, and loss of rigidity. Small, isolated areas of wetness might be candidates for repair.
Drywall that has been exposed to water but remains structurally sound, with only superficial discoloration or minor warping, could potentially be saved. Testing the moisture level of drywall is essential; if it has dried and retained its structural integrity, painting or other surface repairs could suffice.
- Key Inspection Points:
- Check for stains and discoloration
- Look for signs of bubbling or warping
- Inspect for mold and mildew presence
- Assess the rigidity and structural integrity
When to Replace Wet Drywall
Replacement becomes necessary when wet drywall suffers from severe water damage, compromising its structural integrity. If the drywall feels soft to the touch or exhibits extensive mold, it is typically beyond repair.
Substantial water incidents, like flooding, often leave drywall heavily saturated for extended periods, necessitating complete removal and replacement to prevent further damage to structural elements and insulation.
In cases of significant water damage, particularly when insulation behind the drywall has been affected, full replacement is the safer option to ensure the integrity of the wall and prevent future mold growth or structural issues.
- Replacement Criteria:
- Softening of drywall material
- Extensive mold or mildew growth behind the paint surface
- Insulation has been wet and is no longer effective
- Loss of structural integrity after a flood or similar water event
One should also consider that while repairing may offer a short-term cost-saving, it can lead to more significant expenses if water damage has compromised the wall’s structural aspects.
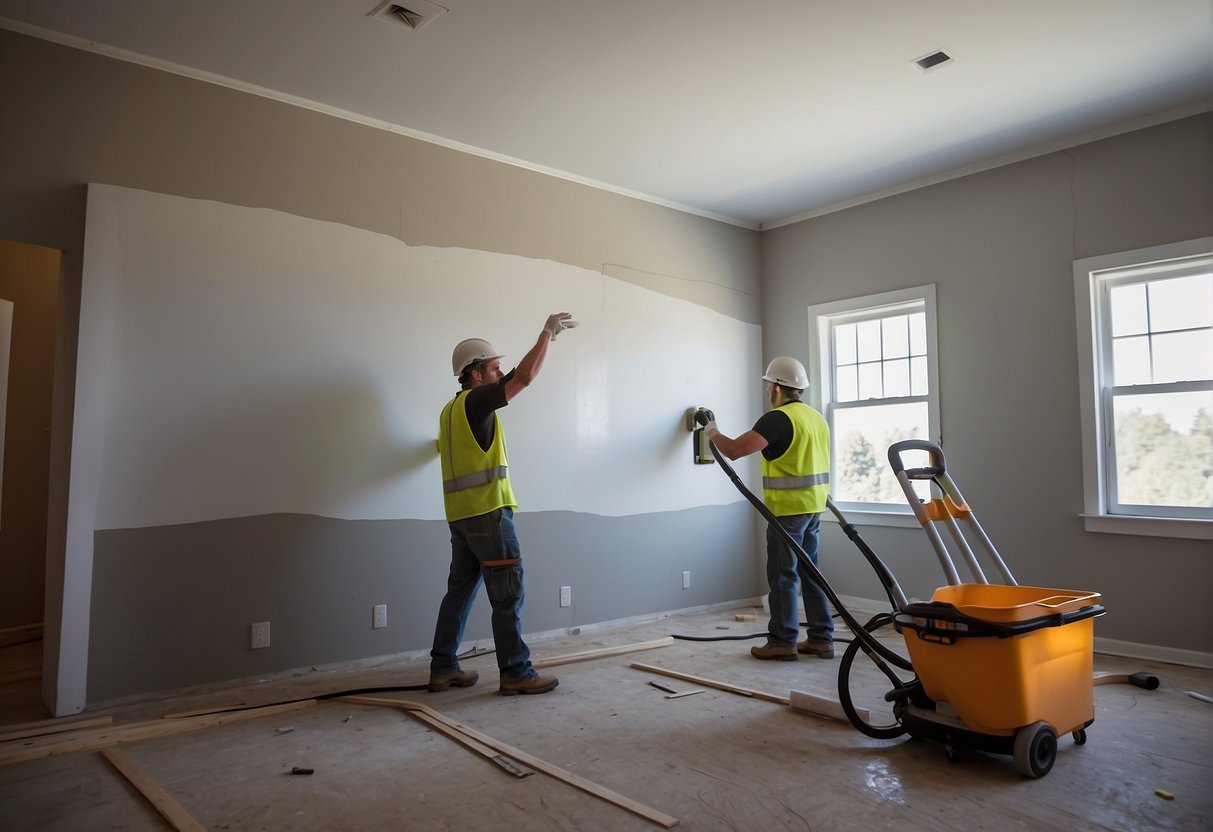
The Drywall Replacement Process
In the event that wet drywall cannot be salvaged, a thorough replacement process is initiated to restore the walls to their original state. This involves careful removal of damaged material, preparation of the installation site, and the precise installation of new drywall.
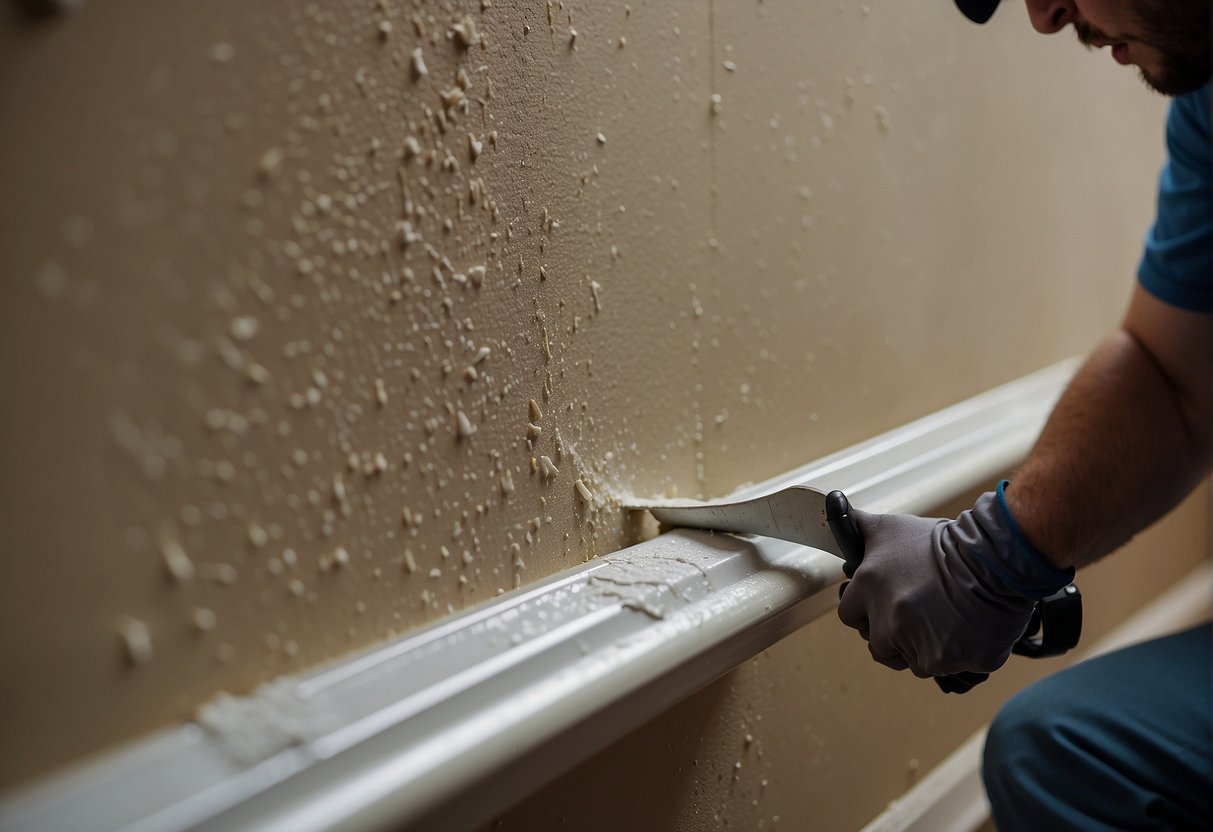
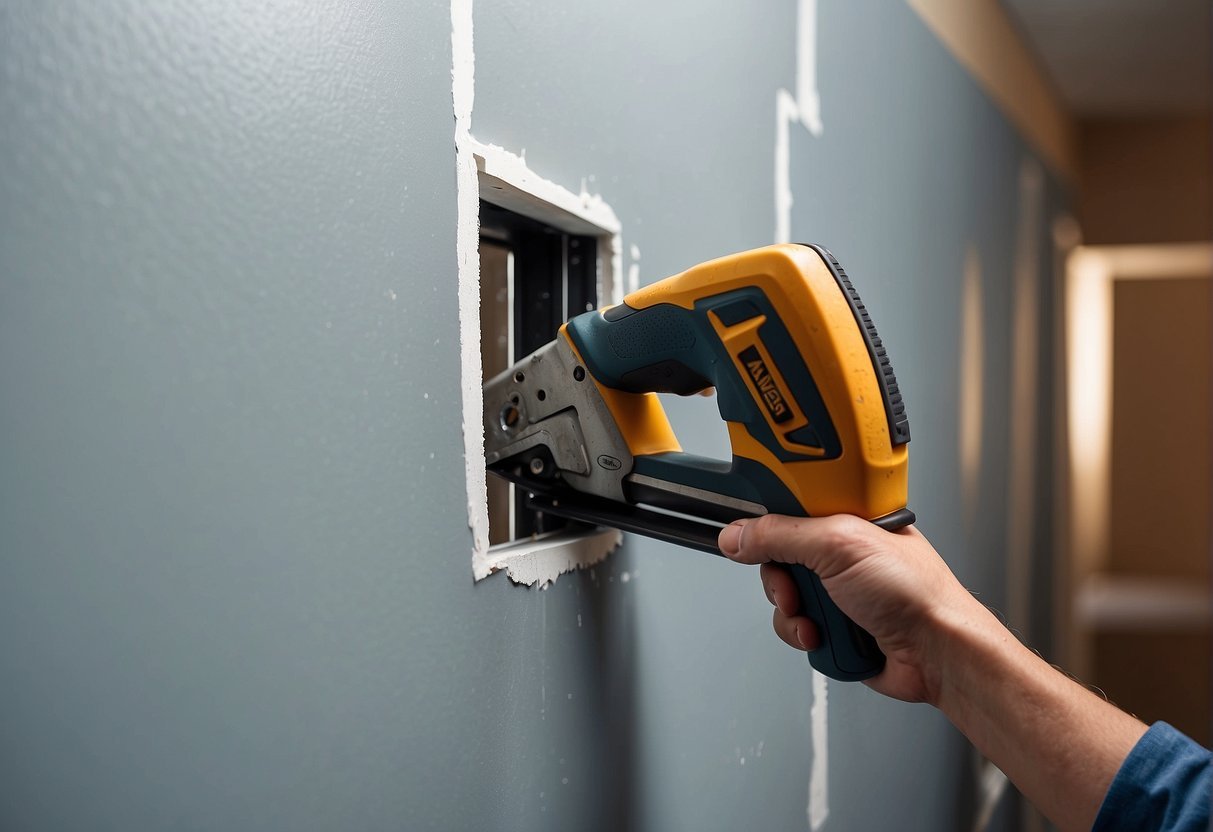
Removing Damaged Drywall
One begins by carefully removing any baseboards to prevent further damage. A utility knife or drywall saw is employed to cut out the affected area. It’s important to ensure all damaged drywall is removed for optimal durability of the new installation. Holes where drywall screws were previously fixed are also cleared to make way for fresh installation.
Preparing for New Drywall Installation
Before new drywall can be installed, one must ensure that the workspace is clean and smooth. This includes measuring the area needing replacement with a tape measure to cut the new drywall to the correct size. The studs should be clear from debris and old nails or screws to provide a stable foundation for the new drywall.
Installing New Drywall
The cut-to-size drywall is then affixed to the studs using drywall screws, ensuring a secure fit. A screwdriver is key in fixing the drywall screws at appropriate intervals. Once the drywall is installed, seams are taped and a primer is applied to prepare the surface for painting.
Achieving a seamless repair requires precision in aligning and fastening the new drywall to maintain the wall’s structure and appearance.
Finishing and Restoring the Affected Area
Once wet drywall has been properly dried or replaced, the next steps involve sealing, painting, and restoring the structural and aesthetic components of the affected area to ensure durability and visual consistency.
Sealing and Painting New Drywall
Before painting, one must ensure that the new drywall is seamlessly sealed and primed. This process involves:
- Application of Primer: A high-quality primer is essential. This seals the porous surface of the drywall and provides a uniform foundation for the topcoat.
- First Coat: Apply the primer evenly and allow it to dry thoroughly.
- Inspection: Check for any imperfections or missed spots.
- Paint Selection: Use a paint that matches the existing wall color and finish. It’s advisable to choose a paint that has: Characteristic Benefit Mold-resistant Prevents mold growth in damp areas. Durable Withstands cleaning and daily wear.
- Painting Process: Apply at least two coats of paint, allowing each to dry before adding the next. This ensures a solid, even finish.
Reinstalling Baseboards and Insulation
The reinstatement of baseboards and insulation is critical for both aesthetic finishing and maintaining the home’s energy efficiency.
- Installation of Insulation: Replace any insulation that was damaged by moisture or removed during drywall replacement. Use materials that provide adequate thermal resistance and moisture control.
- Fitting Baseboards:
- Measure and cut baseboards to fit the altered spaces precisely.
- Nail or glue the baseboards securely in place.
- Caulk the edges to ensure a seamless transition between the wall and the baseboard.
This restoration phase reestablishes the room’s comfort and cohesiveness, attentive to both the functional and visual harmony of the space.
Read more about water damage restoration and contact us with any queries.
Or simply call the inquiry number should you require water damage services. We are happy to help!